No-Roll Hem and Some Notes
I have so many things to talk about, and I feel like I've fallen behind, but I'm getting to that point in the semester where everything is accelerating and becoming almost overwhelming.
I did want to mention a cool technique I just learned for knitting no-roll hems. I read about some similar techniques the other day on Knitting Daily, and I made a mental note to try them some time.
Then I cast on for a new project (we'll talk about that soon), and it called for just this kind of hem. Serendipitous!
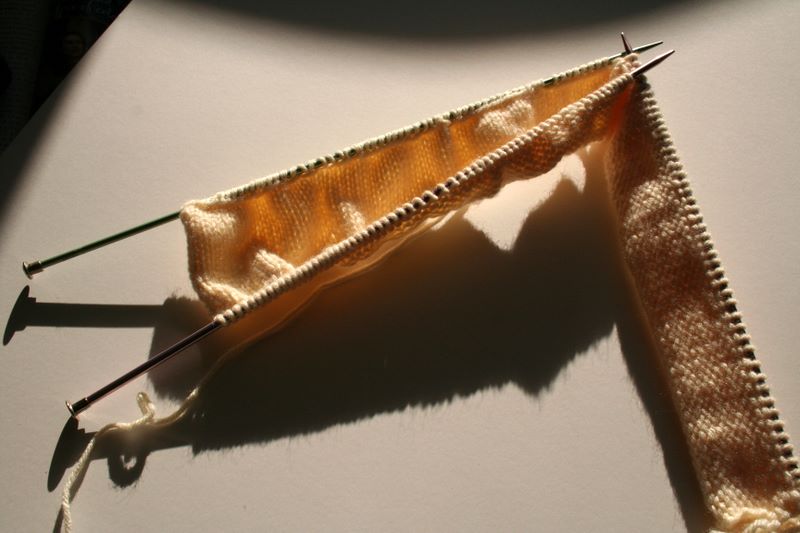
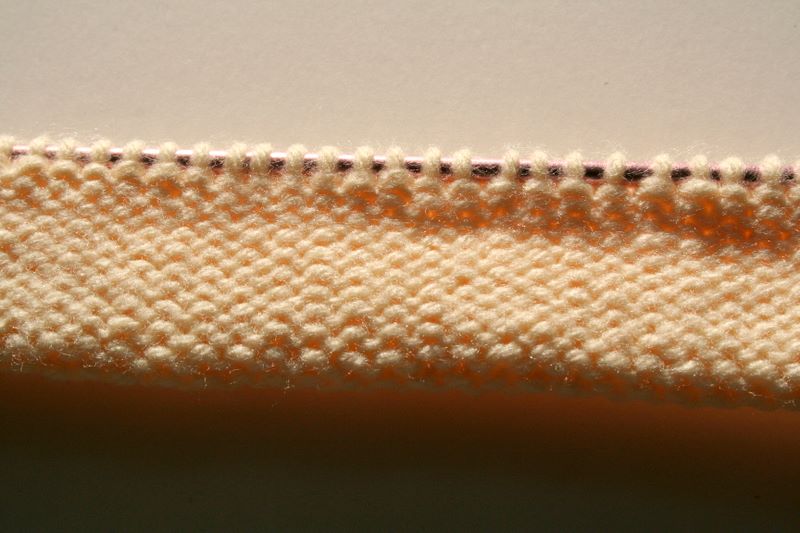
This project is knit in reverse stockinette, but the premise is almost identical to working it on a stockinette sweater. I started with smaller-sized needles to work an inch and a half, then switched to larger needles for another 1.5 inches, to make a total of 3 inches. This will give me about a 1.5-inch hem. For a longer hem, you would simply increase each portion by equal amounts, remembering that the whole piece gets folded in half.
From there, I used a smaller needle to pick up stitches from my cast-on edge (the green one above), such that I have an equal amount of stitches on my working needle and on the back needle.
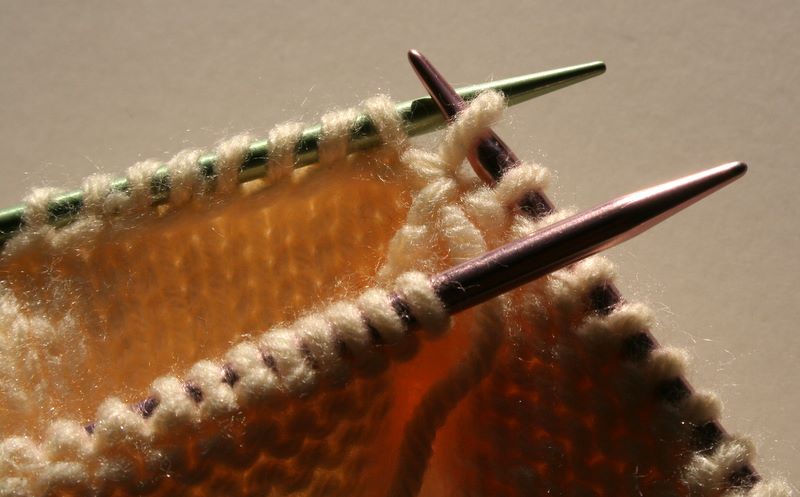
I arranged the needles so that the wrong sides of the knitting faced one another, then took a third needle and began to attach the hem by working p2togs.
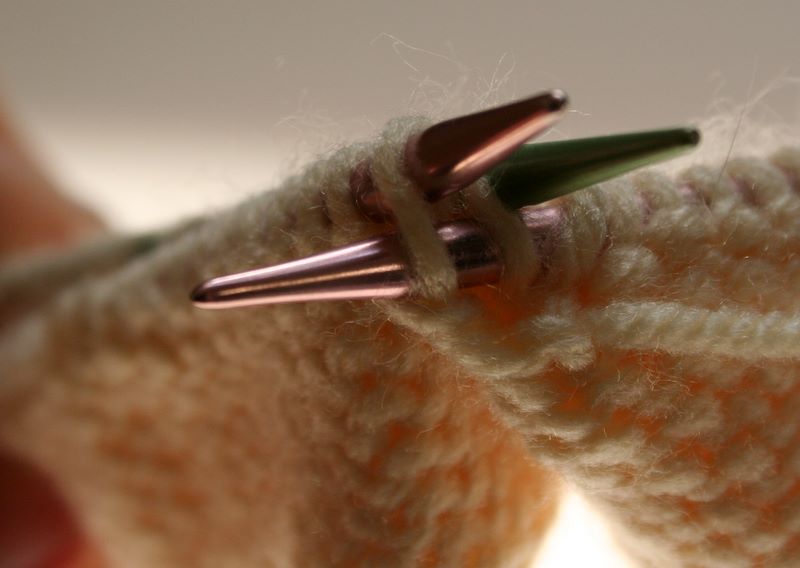
To do this, I inserted the needle through the back stitch, then through the front, and purled, pulling the yarn through both stitches.
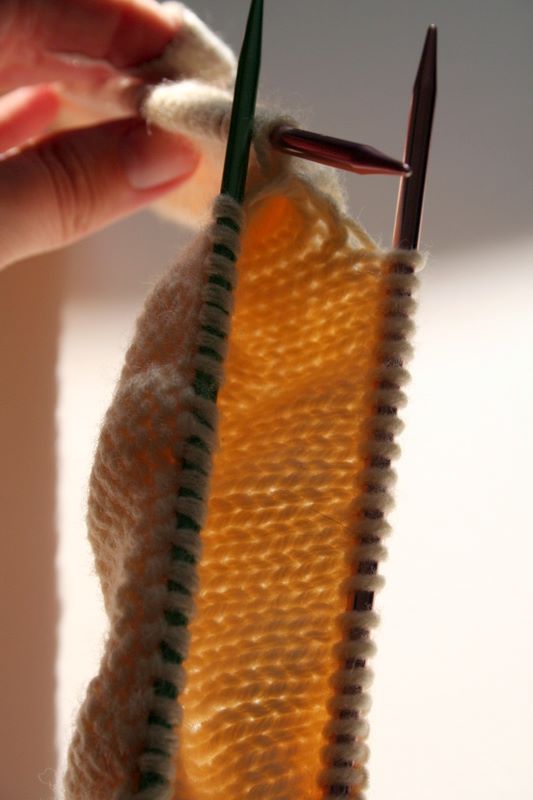
This transforms a weird three-needle-pronged tube into a tidy, folded no-roll hem. The post I linked above has instructions for working a picot turning row and some other fancy ideas, but the basic technique is really quite elegant.
Now, for two quick notes...
I've decided for the sake of sanity that I'm not going to try to finish my Entrelac Socks by the end of this month. I haven't made much progress on them since the last time I showed them, and I know they aren't going to start moving more quickly any time soon. I'm really glad I learned the technique, though, and I like the way these socks are coming out, so when I get some time I look forward to finishing them.
Instead, I have a new, exciting project that I'm starting for my Chemistry of Artist's Materials class (which also overlaps a bit with a graduate assistantship I'm working).
I'm not going to say exactly what it is just yet, but here is a big hint:
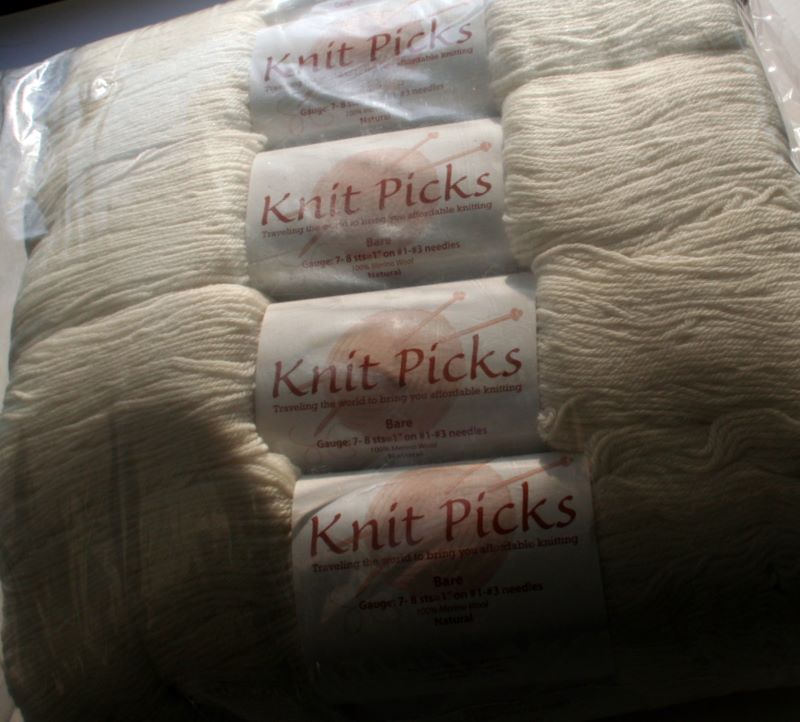
Man, I am thrilled beyond words.
posted by Vicki @ 4/22/2008 06:06:00 PM
0 Comments
![]()


0 Comments:
Post a Comment
Subscribe to Post Comments [Atom]
<< Home