If you didn't guess from my previous hints, this weekend I ventured into yarn dyeing, more specifically dyeing from natural sources.

This semester I was taking a class called the Chemistry of Artists' Materials, Techniques & Conservation, where we studied historical methods and materials, as well as the chemical and conservation issues they present. In a unit to do with organic materials in art, we learned about the chemistry of dyes and inks, and I was utterly fascinated.
For my final project and paper, I decided to expand on a natural dyeing lab with my own project and additional research (in class, we dyed multifiber strips with madder, weld, cochineal, and had an unsuccessful attempt with indigo, then compared alum, iron, and no mordant for shifts in color - you can see photos and brief notes from that
here).
I decided on a standard method, since this was a chemistry project, but on hindsight I do wish I'd tailored my recipes to the particular dyes used. I documented the process in perhaps excruciating detail, as I really wanted my results to be unambiguous and repeatable. All of these pictures enlarge considerably.

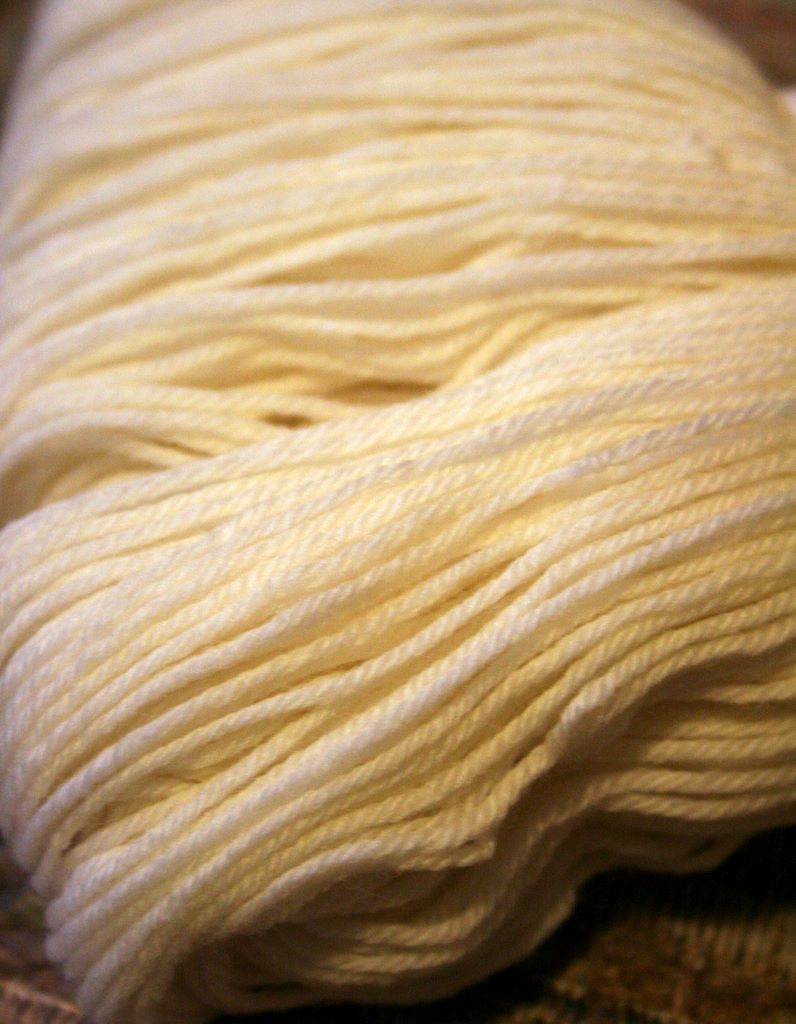
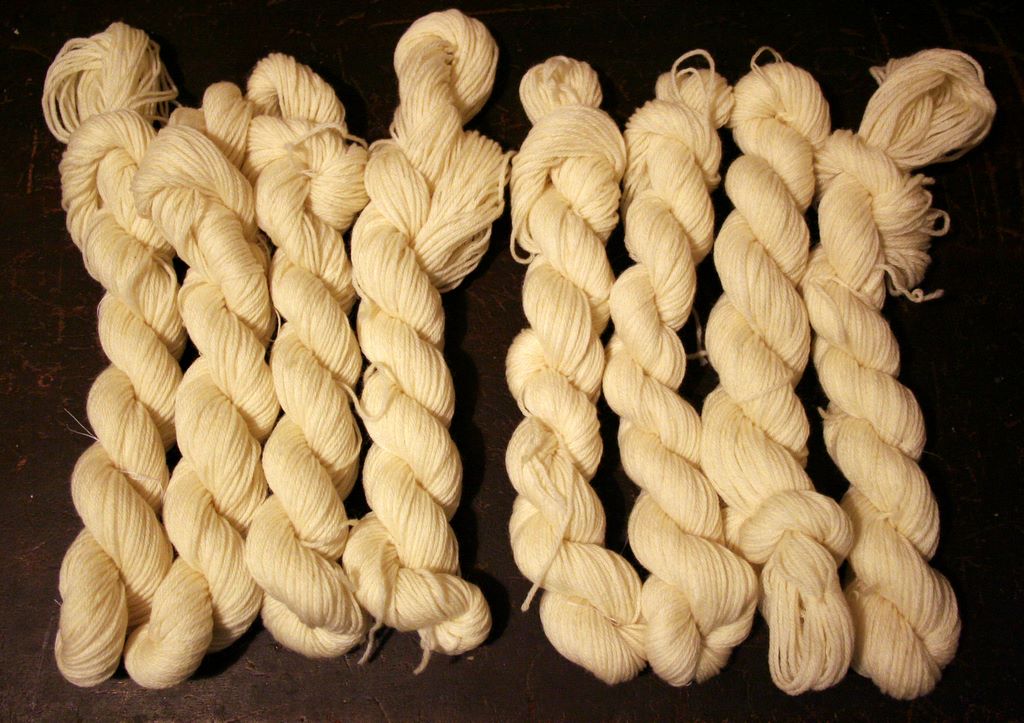
I began with two 100-gram skeins of 4-ply fingering weight undyed 100% Merino wool (
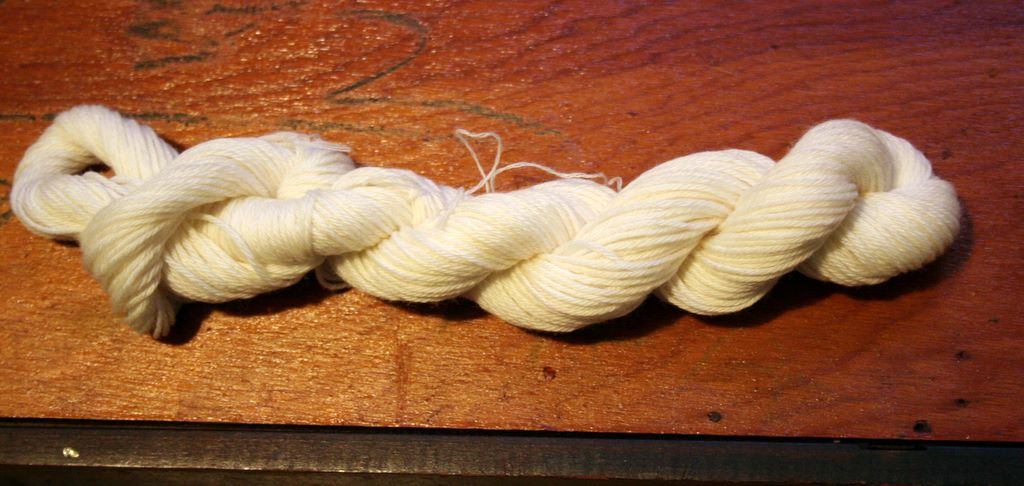
Knit Picks Bare). I split this into four 25-gram skeins by weight.
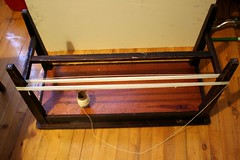

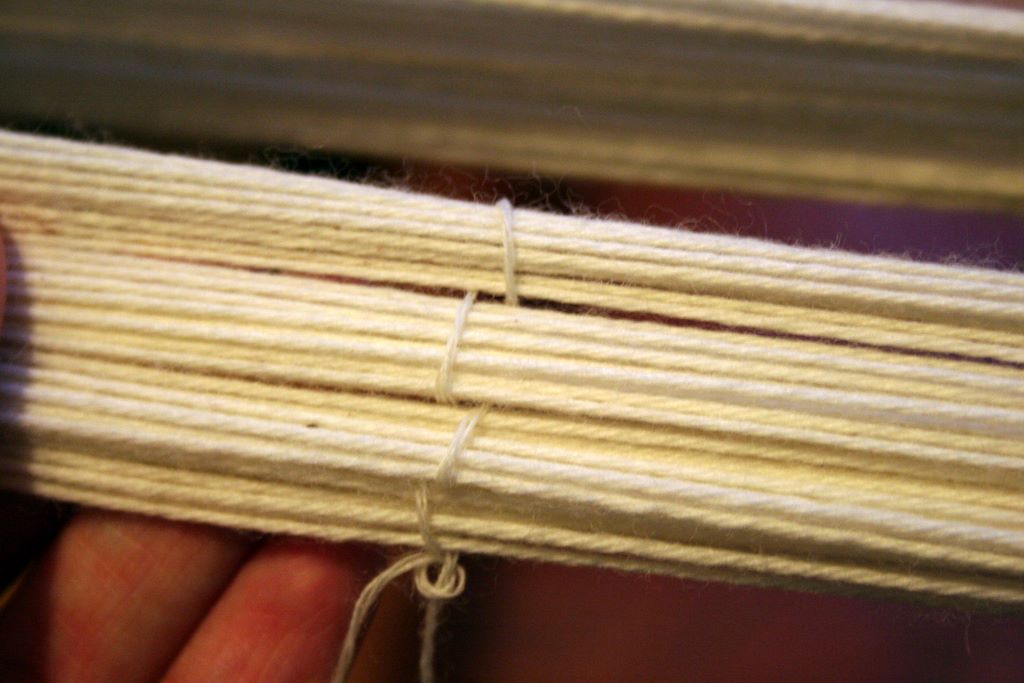
I used the legs of an old piano bench to wind my yarn into skeins, then sectioned and tied them each in four places using figure-8 loops.

They were really cute all dressed up and ready for dyeing.

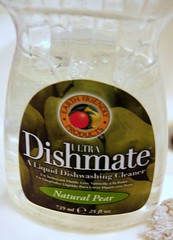
I thoroughly washed the skeins in a mild dish detergent. After scrubbing, I let them soak for 20 minutes to ensure that they were completely wetted and cleansed. I then rinsed completely.

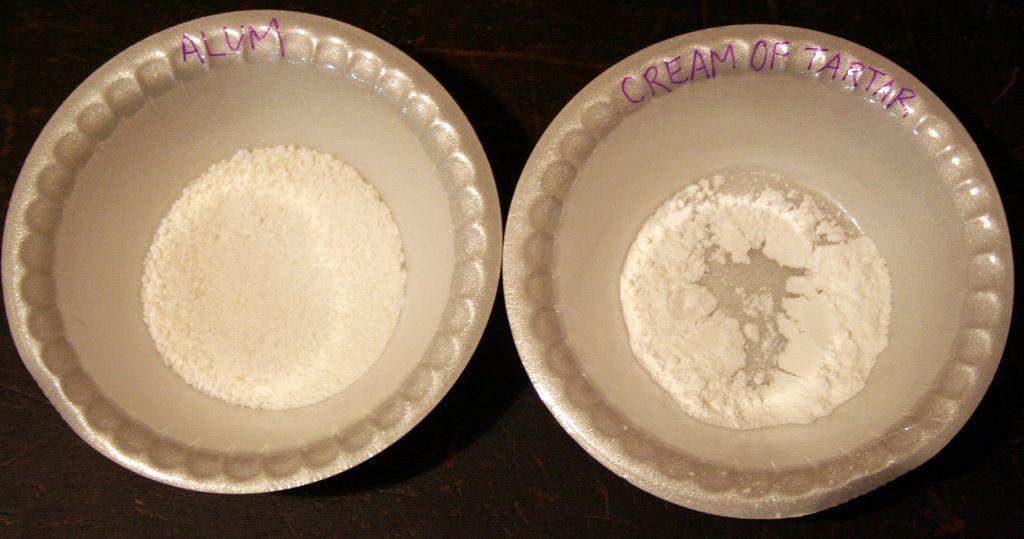
I prepared a mordant from a recipe by Ida Grae in her book
Nature's Colors: Dyes from Plants. I mixed enough to mordant four skeins at a time:
- 1 gallon water
- 1 ounce (28.4 grams) alum
- 1/4 ounce (7.1 grams) cream of tartar
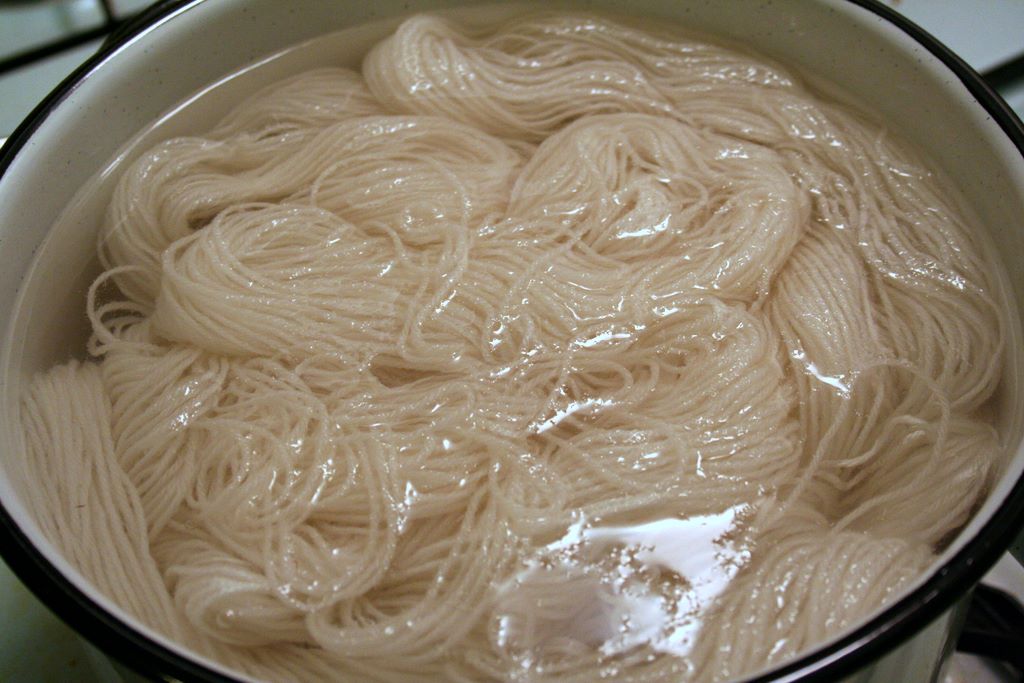
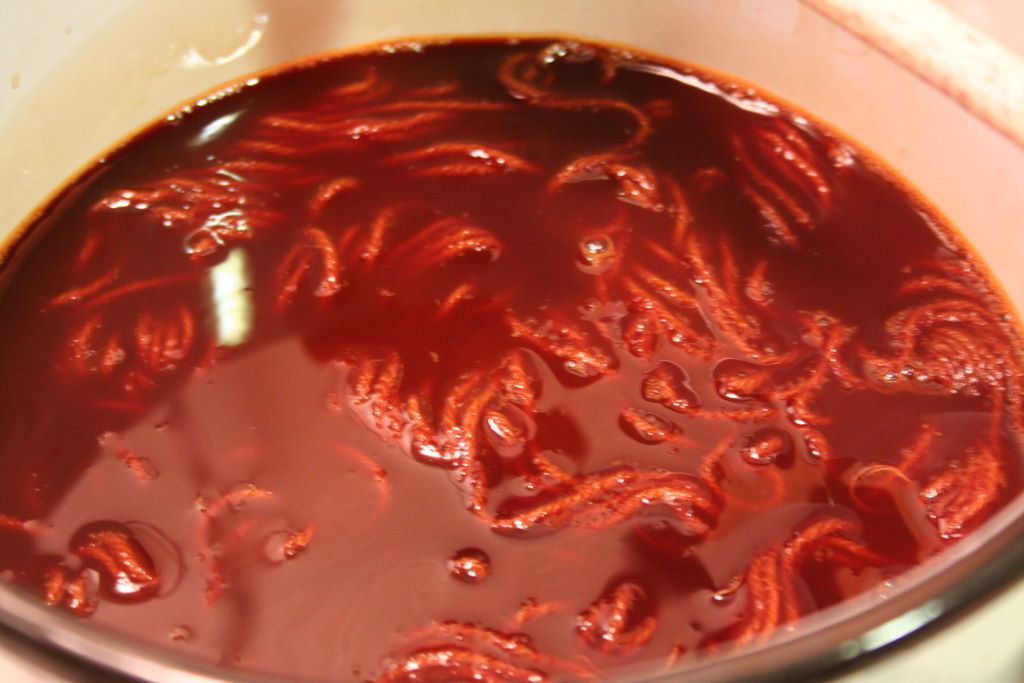
I simmered the yarn and mordant together for two hours at a temperature just below boiling. I kept thinking to myself "Mmm, yarn soup." I allowed the yarn to cool in the mordant bath and soak overnight, at least 12 hours.

Meanwhile, I got to work preparing the dye liquors. For this project the dyestuffs I used were:
- black tea
- spinach mixed with dandelions
- alkanet
- Osage orange
- annatto
- kamala
- sandalwood
- cutch
Part of my research included the backgrounds, history of use, and chemistry of each substance. Specifically, I was interested in OH end groups that allowed for covalent bonding between an alum mordant and the fabric (I have diagrams and all kinds of nerdy stuff on this, which I may post in the future). Apart from the black tea and spinach-dandelion concoction, all of these dyestuffs were purchased through
Dharma Trading.
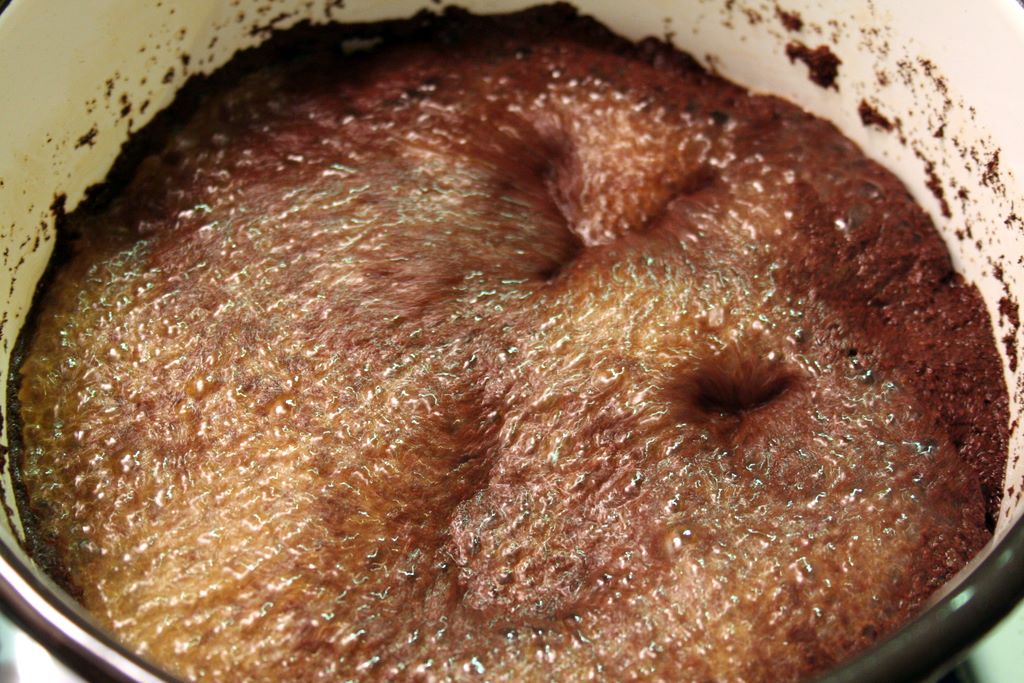
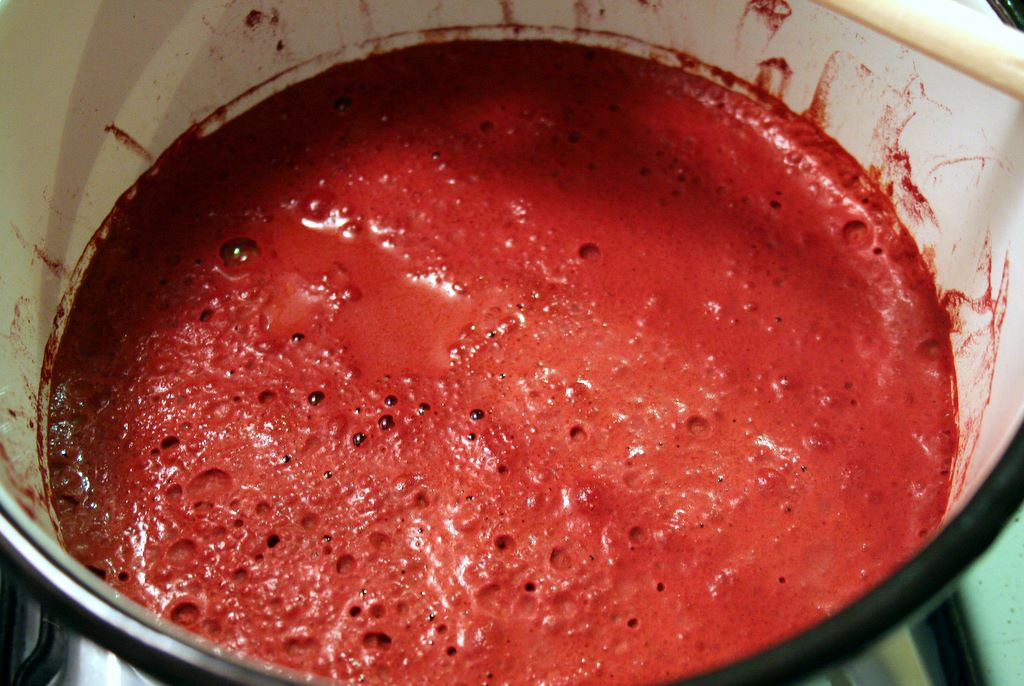
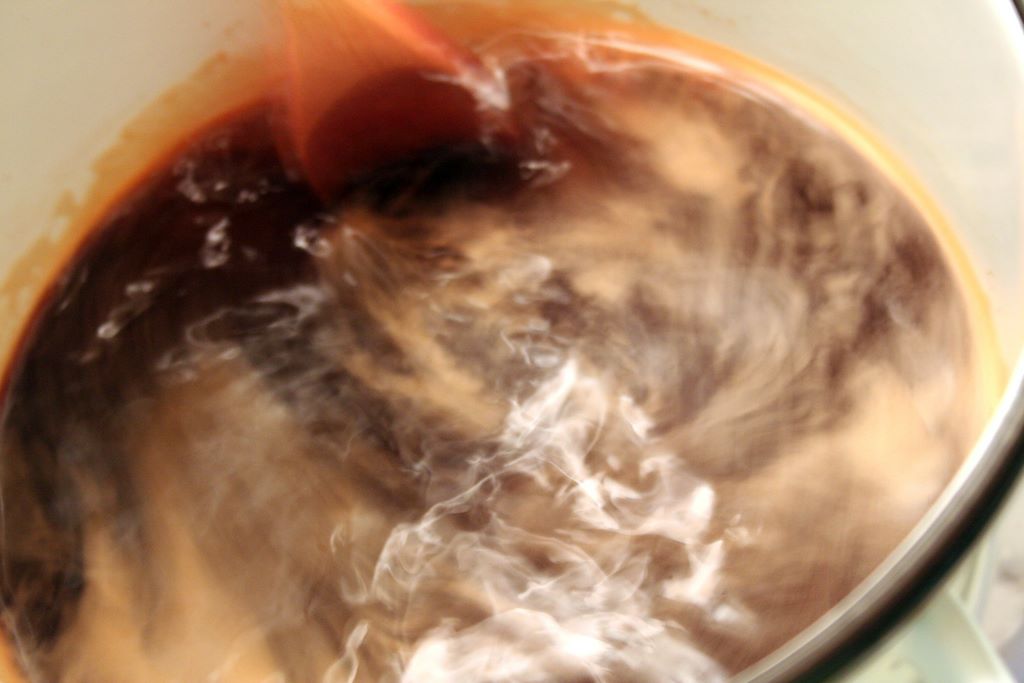
I used equal weights of dyestuff to the amount of yarn being dyed, in this case 25 grams of each product. I simmered each dyestuff with 1 quart (32 oz) water in individual dye pots for one hour.
Here you see the beautiful, colorful brews.

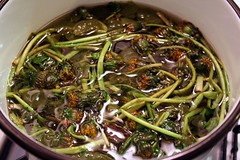 Black tea / Spinach & Dandelions
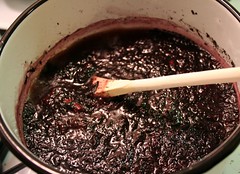
 Alkanet / Osage orange (cooled)
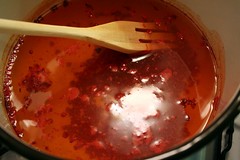
 Annatto / Kamala
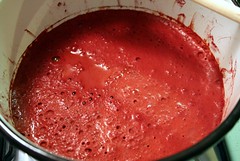
 Sandalwood / Cutch
I let these mixtures cool and sit together overnight, at least 12 hours, to ensure maximum extraction of dye.

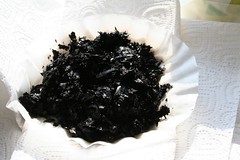
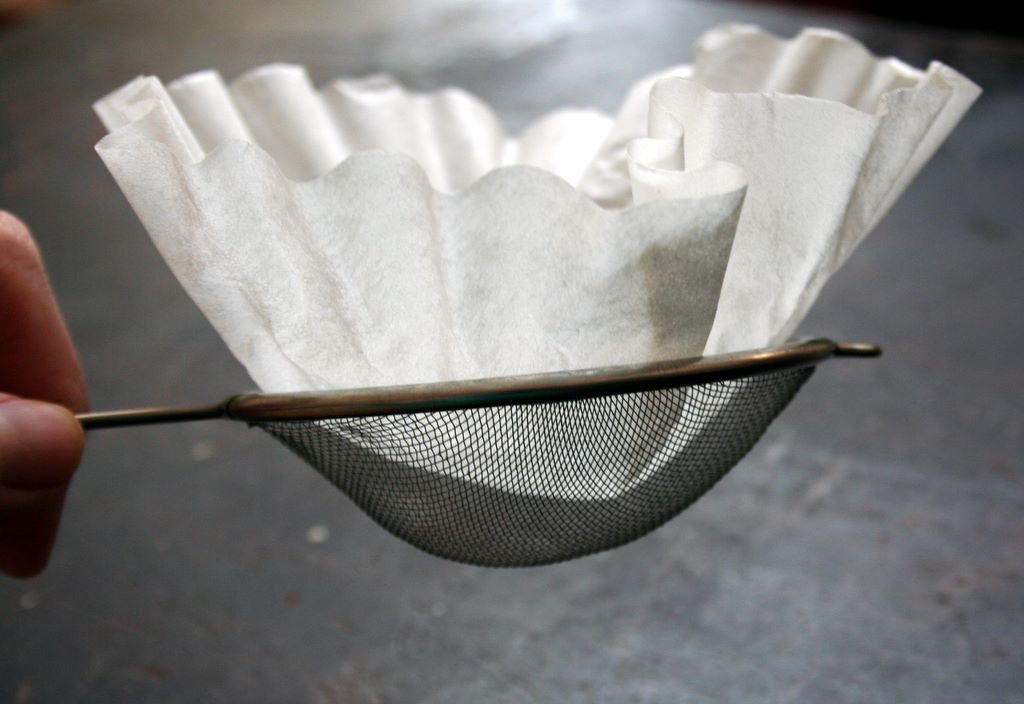
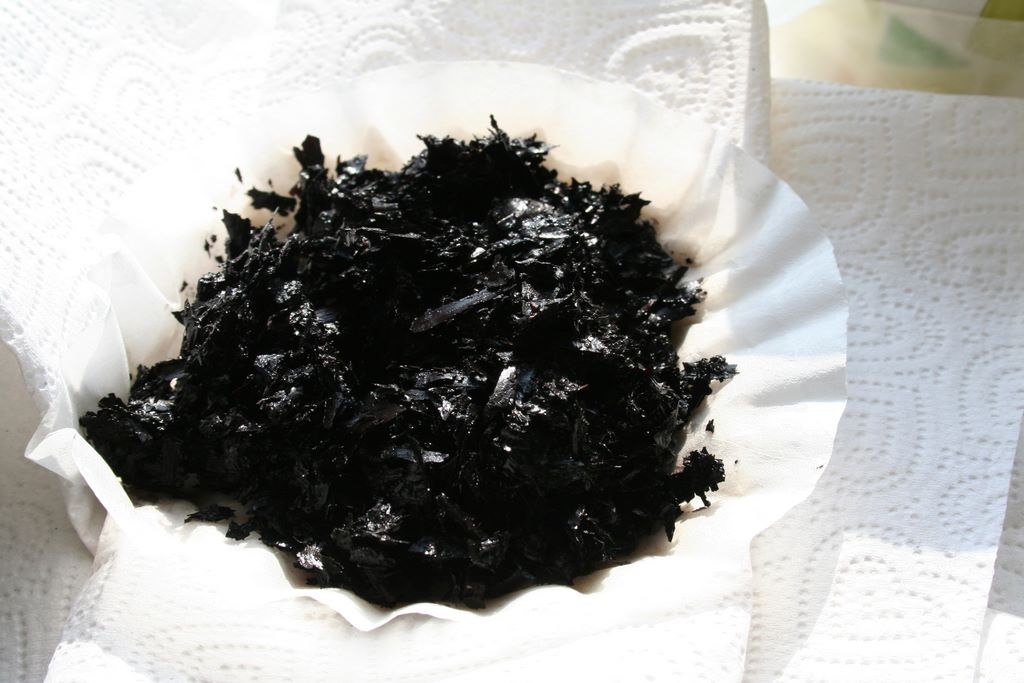
I filtered each dye using coffee filters and a kitchen strainer. I saved the remaining pieces on filter paper, with paper toweling and wax paper underneath, set on my windowsill to dry. Supposedly, you can reuse some dyestuffs for weaker, though often still successful dye extractions.
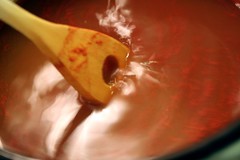
Once I had my clean dye liquors, I was ready to finally get dyeing!
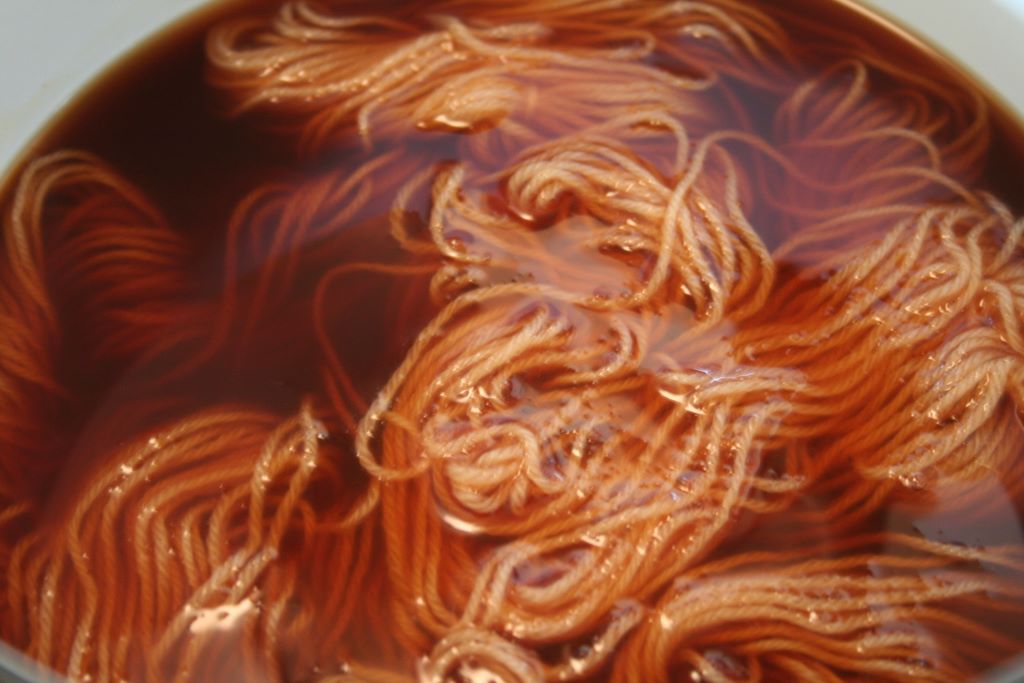
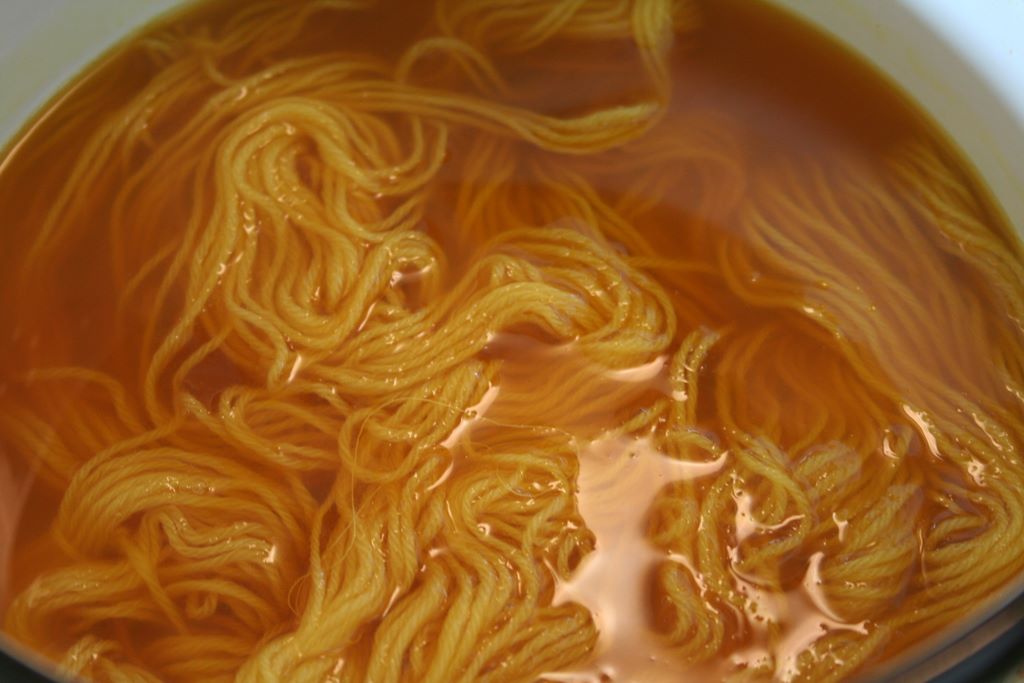
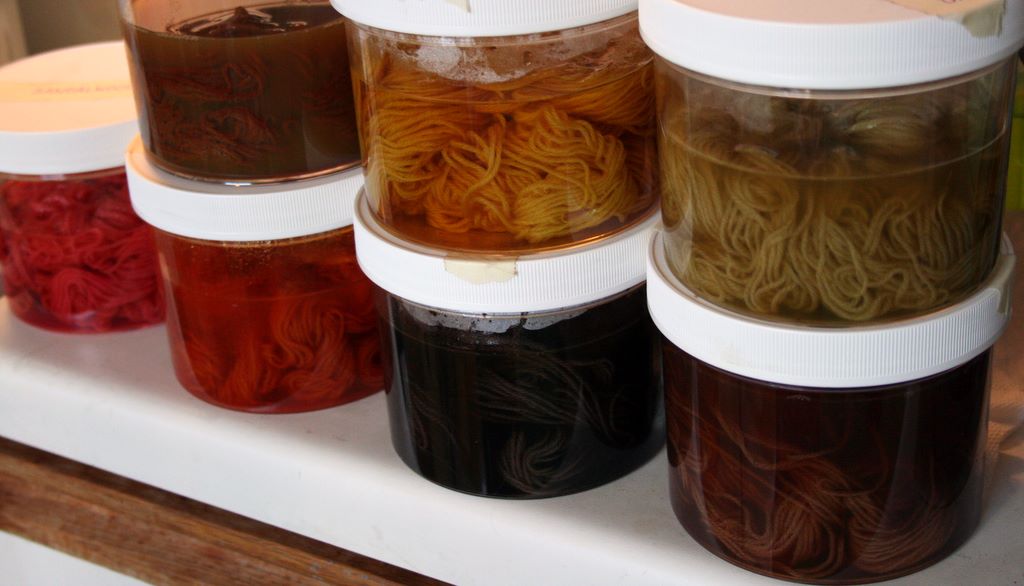
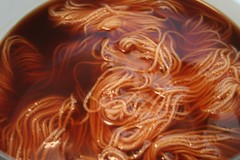
I put one skein of yarn in each dye liquor and made sure it was completely covered in the pot. Here I patted myself on the back for the forethought to measure ahead, as I knew how much dye liquor I'd need to cover a skein of yarn. I got an amazing thrill out of looking at the yarns in their little enamel pots, trying to predict what colors I would get.
 Black tea / Spinach & Dandelions
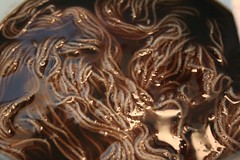
 Alkanet / Osage orange
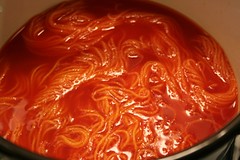
 Annatto / Kamala
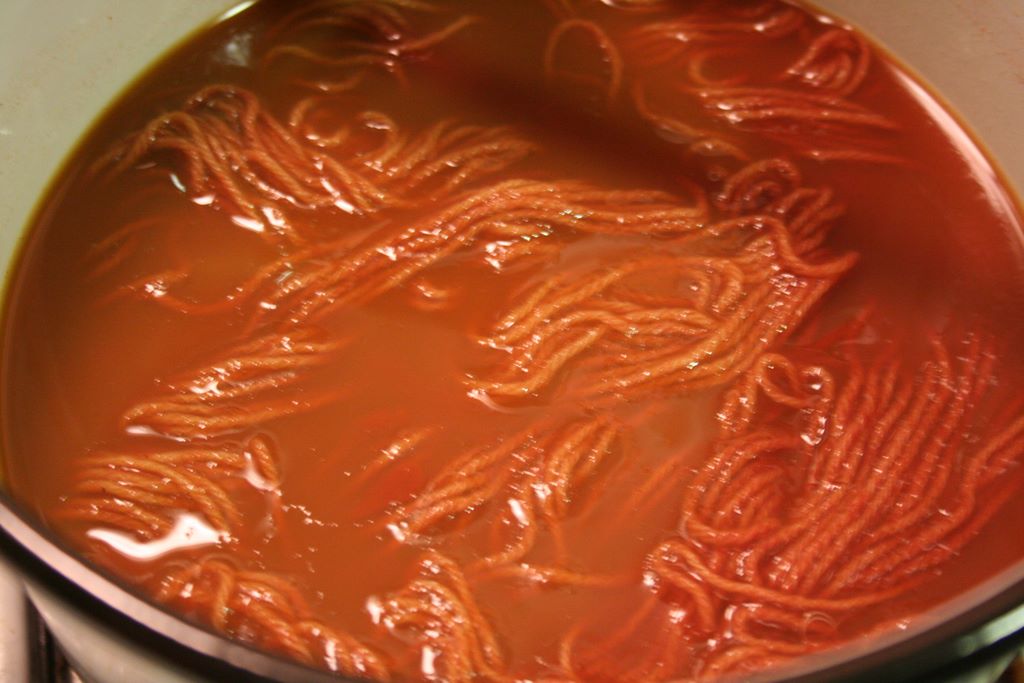
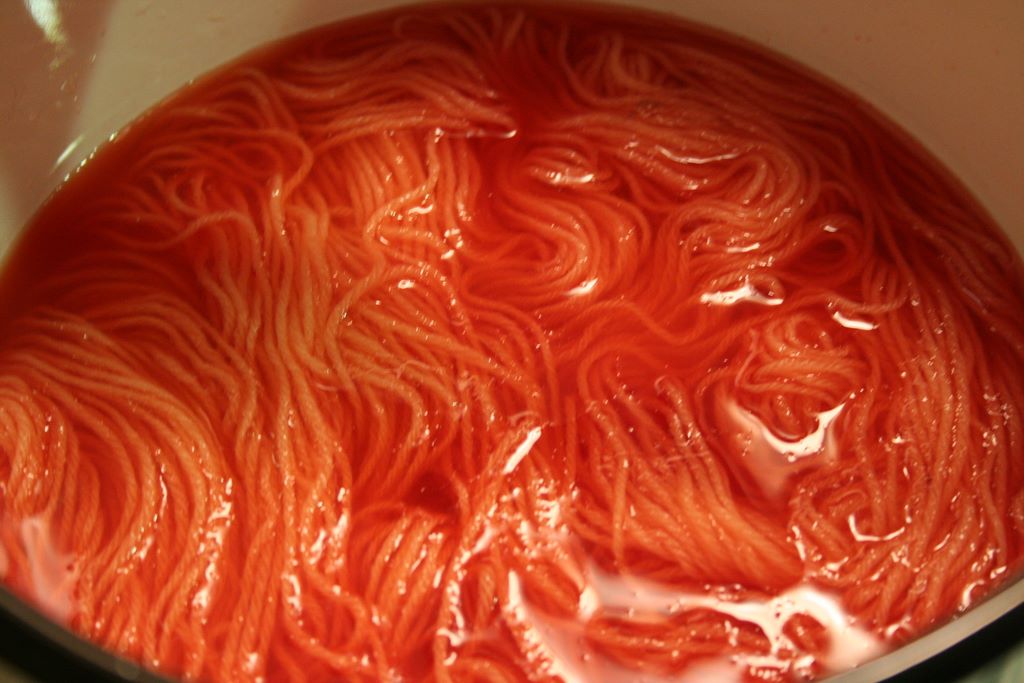
 Sandalwood / Cutch
I simmered the yarns in the dye liquors for one hour at a temperature just below boiling. I let the yarn cool in the dye baths, then steeped the whole situation overnight, in this case eight hours.

(Yarn soup for sale).
I prepared a rinse for each yarn using about a gallon of water and 2-3 ounces of white vinegar. I did all this with a plastic bin in my bathtub, with a plastic tablecloth covering the floor and the door closed to avert cat or boyfriend-related disaster. I wrung out the excess dye from each skein and re-sealed the dye liquor container, again with the intention of reusing the seemingly not-yet-exhausted dyes.

I first did a thorough vinegar rinse in a plastic tub (wearing gloves), squeezing, pressing, and gently agitating the yarn. Once the initial dye bleed seemed to subside, I rinsed the yarns with cool water from the shower, squeezing them and examining the rinse water. I continued rinsing until they ceased bleeding completely, which I hoped meant that the dyes were adequately set and will not bleed in the future.

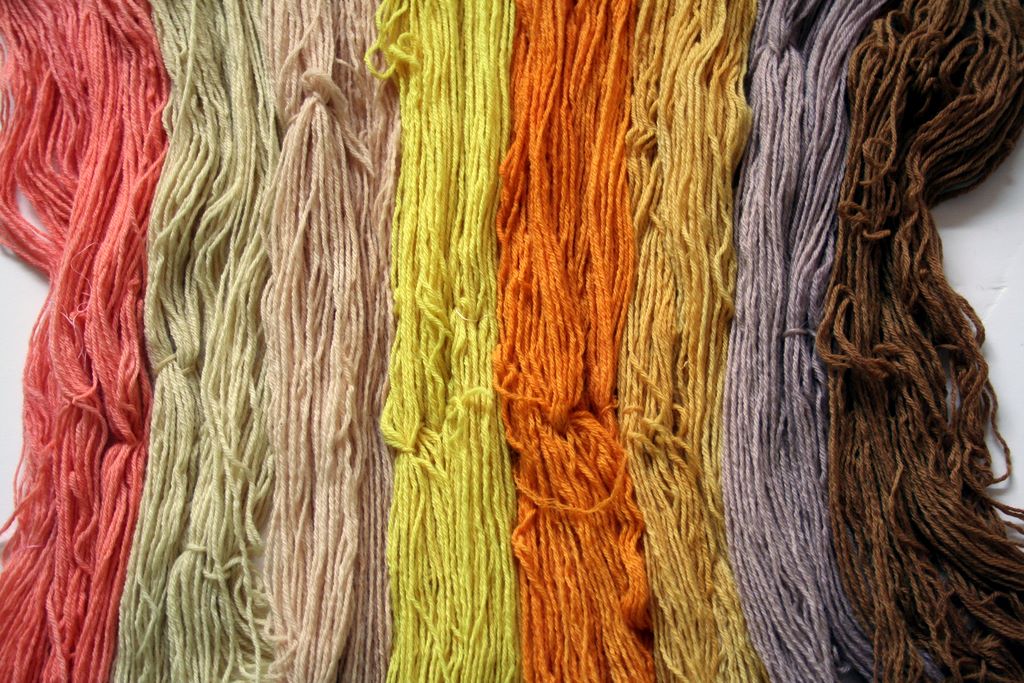
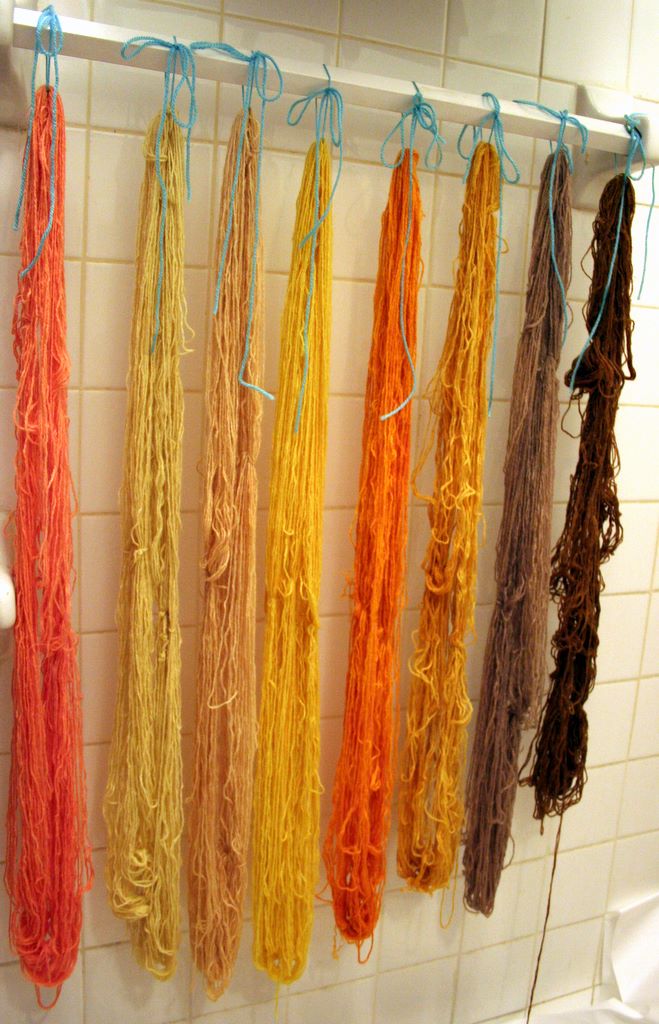
I hung each skein to air dry with acrylic waste yarn from my towel rack. Once they were completely dry, I was thrilled with the results.
I reskeined each yarn and got to work comparing the colors I achieved with samples from books and wrote the conclusion to my chemistry paper.

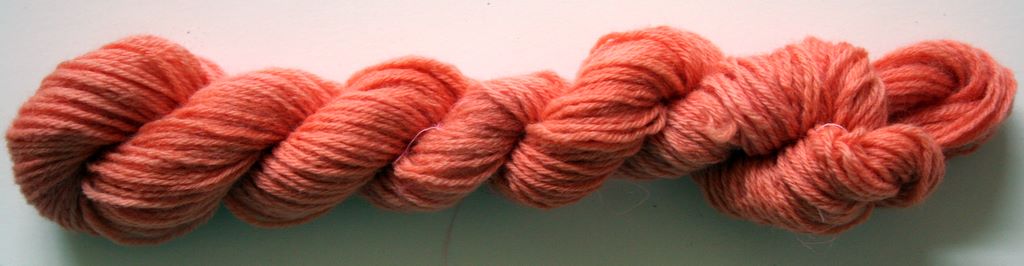
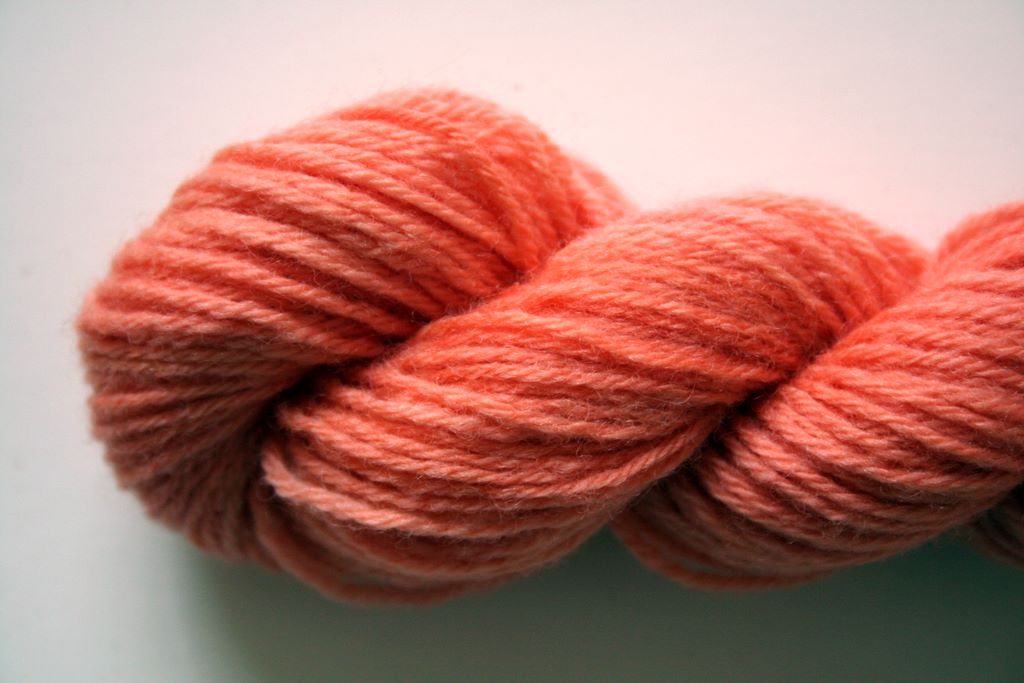
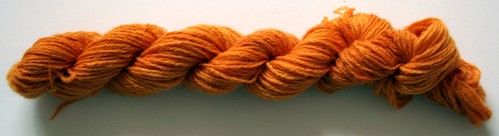
I learned so much in my research, and I'd really like to spout on and on about it, but for now let's say I mostly got the results that I expected, with a few pleasant surprises. My Osage orange and annatto were much brighter and more vibrant than I expected, and I think my favorite was the beautiful warm rosy pink from sandalwood.
This yarn was definitely a labor of love, but it was a fascinating project and I hope I did well with the chemistry part of it.
Now, for some gratuitous yarn photos:
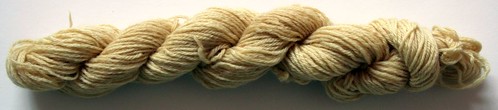
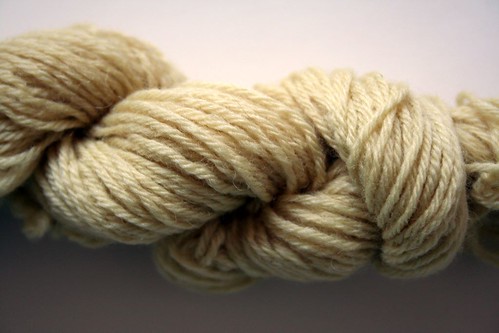
BLACK TEA


SPINACH & DANDELIONS
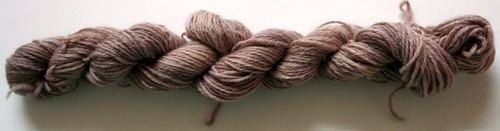
ALKANET

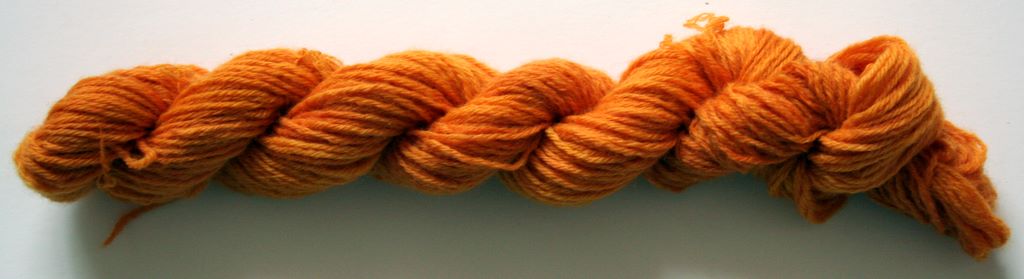
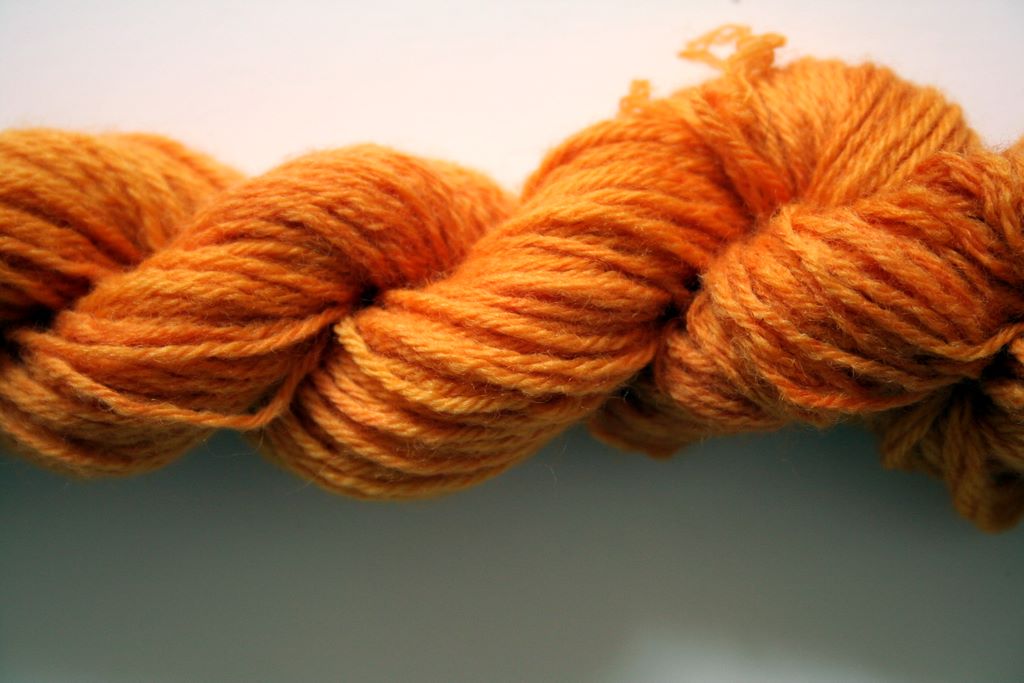
OSAGE ORANGE


ANNATTO

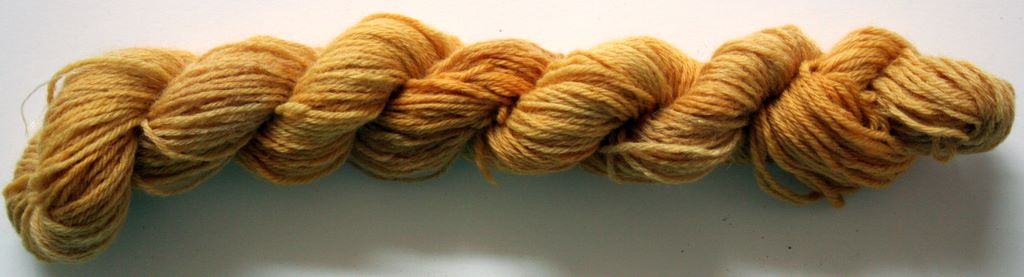
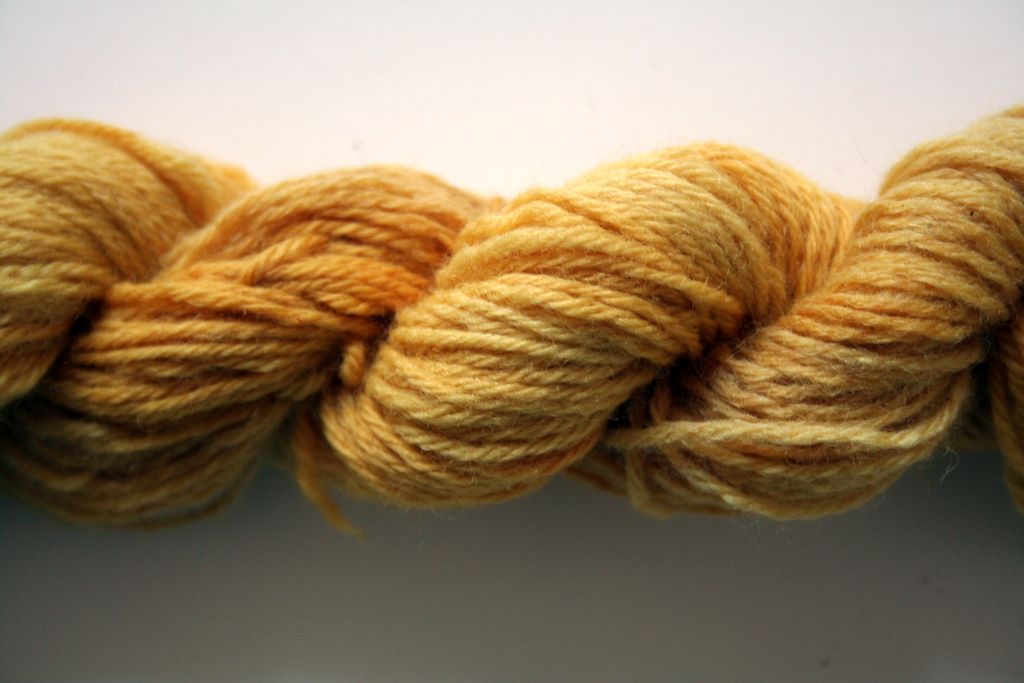
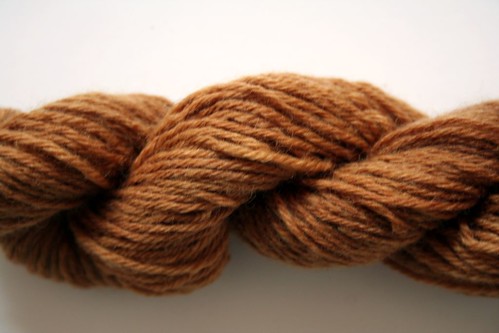
KAMALA


SANDALWOOD


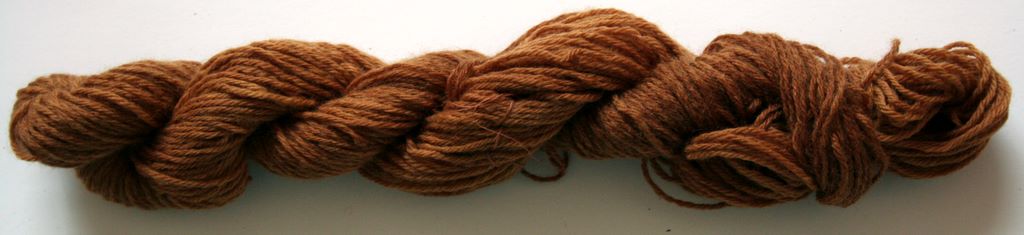
CUTCH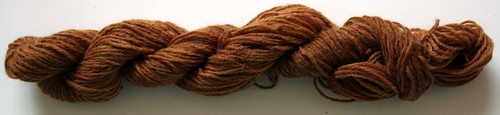
If you may be interested in natural dyeing, in addition to the Ida Grae book I mentioned above (which can be hard to come by if you don't have access to a good library), I would highly recommend the very useful and inspiring book
Natural Dyeing by Jackie Crook.
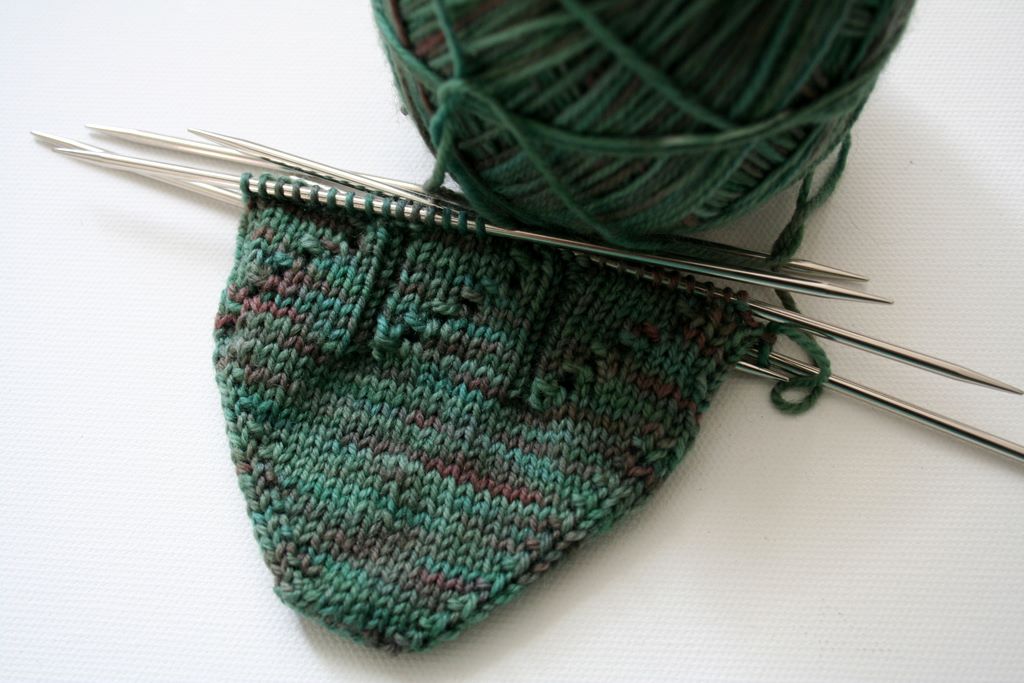
Now that I have the supplies, the method, and an intense curiosity, I think there will be much more dyeing in my future. As for these yarns, well yes, I have a plan for them too...